Being a blog, I feel all elements of printing should be offered up for examination, even when it isn't pretty. This image is one that has cost me more time and print runs, in gum, than any other image I've ever printed. This print is the seventh printing of this image; same 8x10 digital negative, from an Epson 1430 printer. A truly beautiful piece of work itself.
As noted earlier, the passing of my wife didn't enduce the creative spirit, on top of my attention and focus was off, allowing mistakes to take place. Any blemish on the paper, any miscalculation or wrong appliation and the print is junk, like the first six attempts. Preparing the paper for making a g um print takes five days. Each color layer printed is another day and this print needed seven color printing, with two split colors added simultaneously, there nine colors on seven printings.
What captures my eye today is not that much different from my earlier work. My first photographs, with a photo series of my little sister hitching up a Beagle to a wagon, wearing a newly acquired cowgirl outfit, replete with twin cap pistols. That was in 1963, two years after I got my first [knock off] Brownie camera. This image was taken while visiting La Paloma, Mexico a couple years ago, a sleepy little border town directly south of Deming, New Mexico, a route taken by Poncho Villa in the early 20th century. That is also a photographer's cornucopia of shots during reenactments of that famous ride. Lots of Caballos and Caballeros in full regalia of riding outfits of that time, and full Gracheros sombreros.
The woman in this image was with another woman, sitting on the street selling Baskets and wares. I ask her permission to take the shots of them both, one at a time. Something of a coup. It is good to carry a few five dollar bills, in earnest payment for taking someone's photograph in a foreign country.
This is a seven layer gum dichromate print, using nine separate colors. I began with a basic CYMK run but in KCYM order, then began coaint the different tonal zones, requiring different print times. The woman's face being one zone, needing the least amount of print time. The blouse was next in tonal density, with the background being needing the most print time to retain color. The point of the printing was all about the light. I not longer care all that much for tonalities. What I'm after now, is capturing the light on a subject.
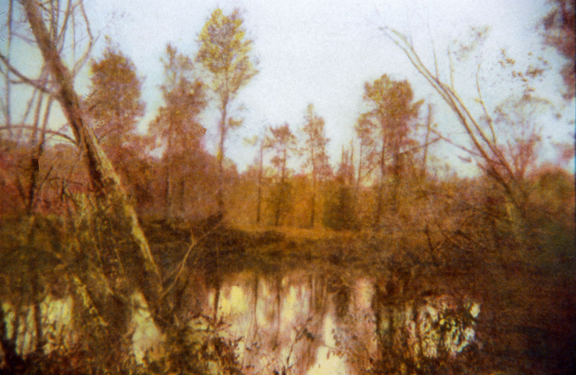
Gum Dichromate Print ~ Unique
"Woman Selling Baskets" ~ 8x10
La Paloma, Mexico